
Run Langchain Using Langflow - Installation Guide and Fundamentals
This guide walks you through installing Langchain and Langflow locally, followed by an exploration of Langflow’s components and GUI. Learn to build visual workflows, connect LLMs, and create content pipelines for tasks like summarization, transcription, and more using a user-friendly interface.


In our most recent article, we explored the usage of Langflow, running Langchain models to create a chatbot resembling a Blog Writer that can essentially look at publicly available information and report findings the way a blog writer would when reporting on a news article. The intent of creating this bot was to simplify information aggregation, such that an editor could refine such synthetic content before publishing it. Once the bot is mapped to credible, original news sources, API developed using the above flow can create a blog writer that summarizes, transcribes, and presents information in an easily digestible format. As a precursor to that article, this guide will walk you through the process of installing Langchain and Langflow locally on your computer, followed by an explanation of Langflow's components and GUI. Essentially all things you need to get started with Langflow and its methodology of using complex LLMs to produce valuable content.
Part 1: Installation
Prerequisites
Before we begin, ensure you have the following installed on your system:
- Python (version 3.8 or higher)
- pip (Python package manager)
- Git (version control system)
Step 1: Install Langchain
- Open your terminal or command prompt.
- Run the following command to install Langchain:
pip install langchain
Step 2: Install Langflow
- In your terminal, run the following command to install Langflow:
pip install langflow
Step 3: Verify Installation
To verify that both Langchain and Langflow have been installed correctly, run the following commands:
python -c "import langchain; print(langchain.__version__)"
python -c "import langflow; print(langflow.__version__)"
These commands should print the installed versions of Langchain and Langflow without any errors.
Step 4: Launch Langflow
To start the Langflow application, run the following command in your terminal:
langflow
This will start the Langflow server, and you should see output indicating that the server is running. By default, Langflow will be accessible at http://localhost:7860 in your web browser.
You would essentially be welcome at this screen:
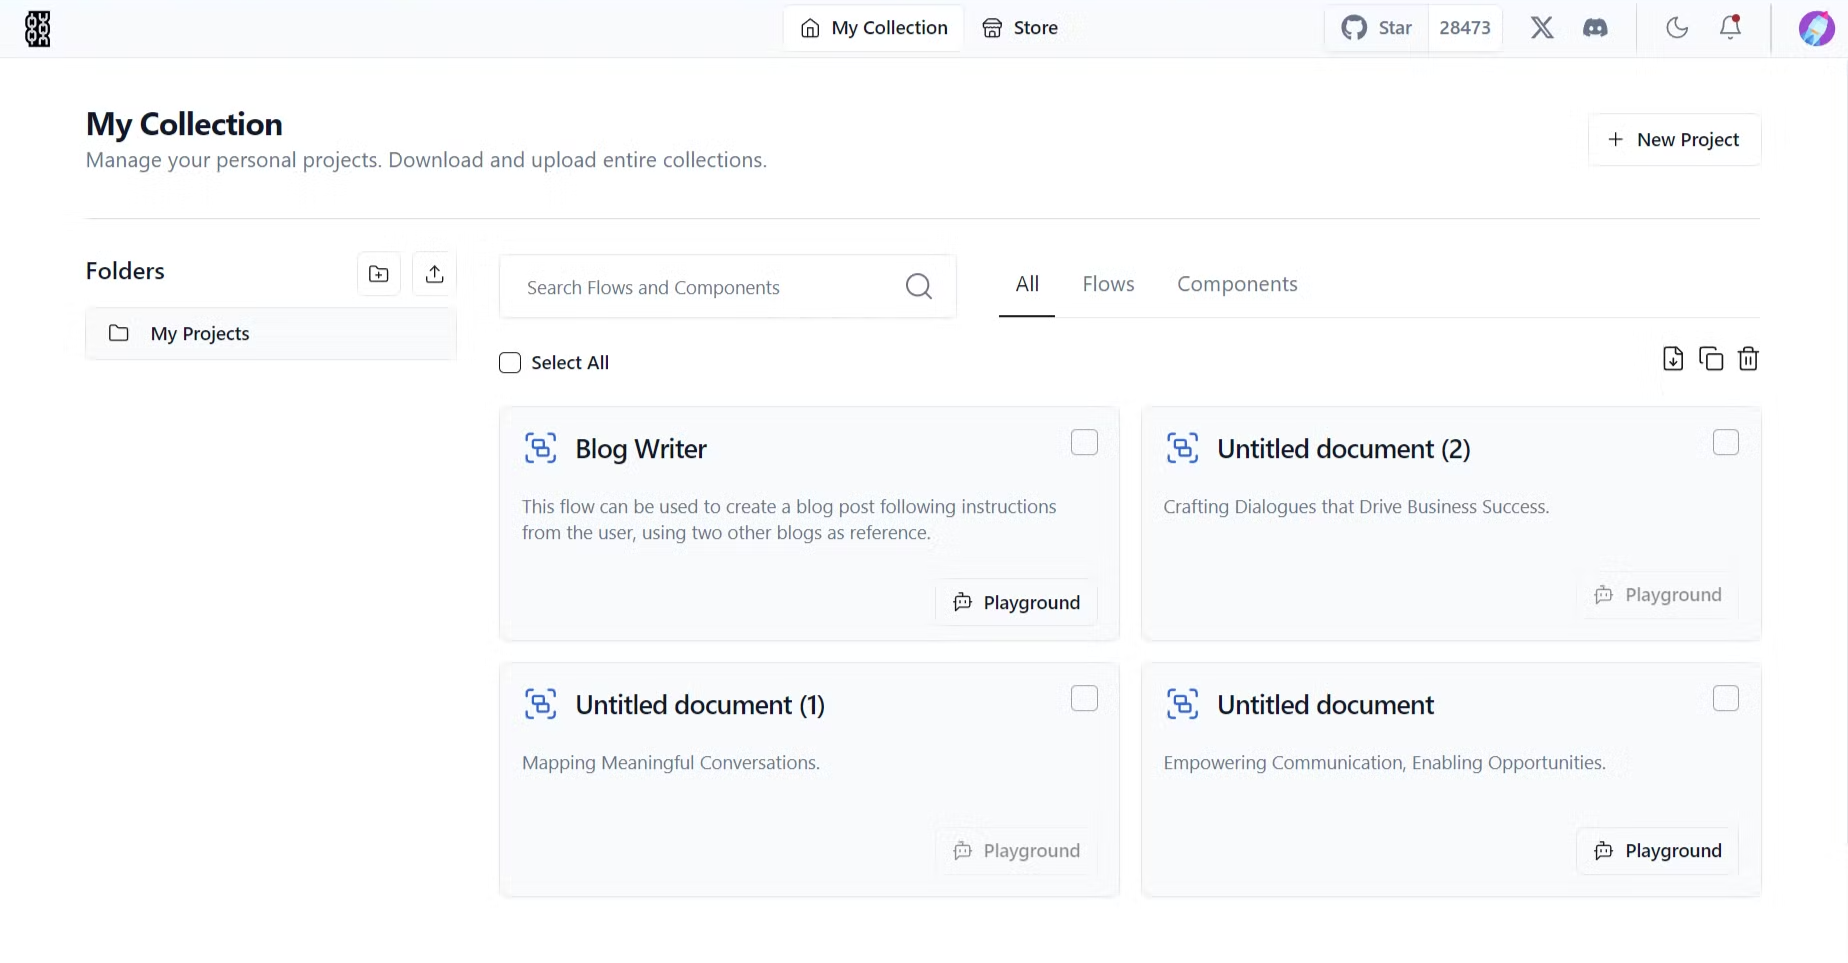
The projects folder showcases all the API created using Langflow.
Click on New Project to understand all the elements of Langflow.
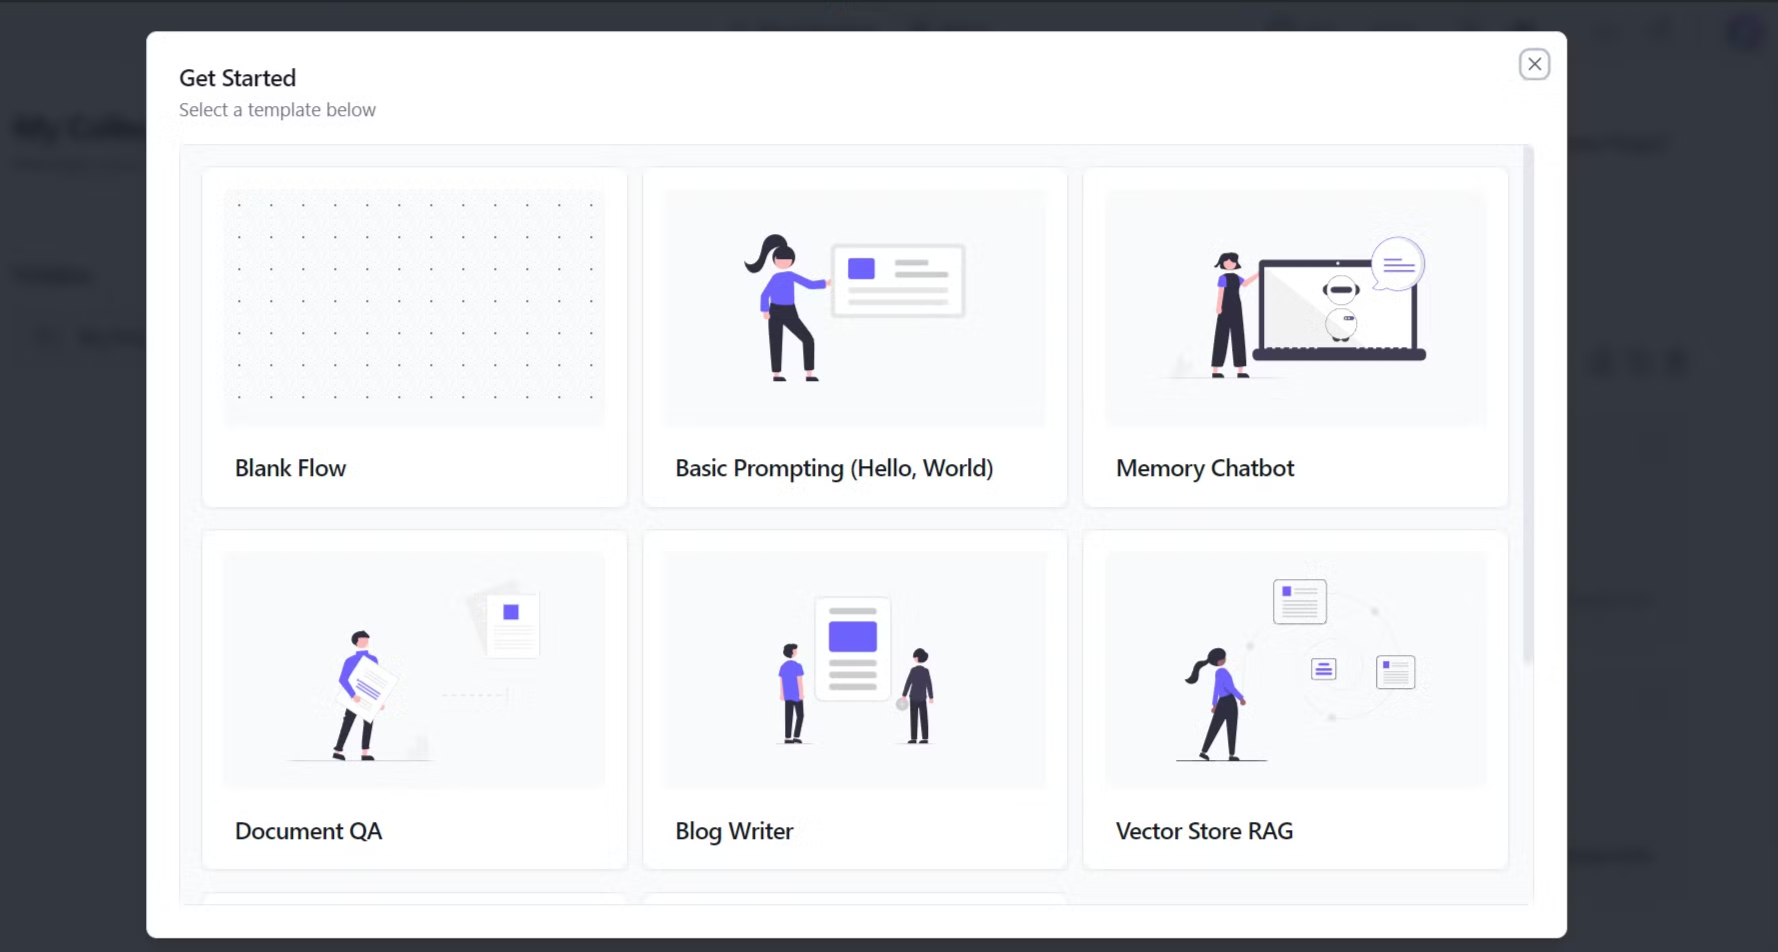
Click on Blank Flow to visualise all the components within Langflow.

Part 2: Langflow Components and GUI
Langflow is a user interface built on top of Langchain that allows you to prototype and experiment with different Langchain components visually. Let's explore its main components and how the GUI works.
Langflow Components:
Langflow functions as a visual programming overlay designed to simplify the creation and deployment of complex language models on user-friendly interface with various components that can be connected to form pipelines for different tasks. Widely classified, components can be broken down into the below mentioned categories.
Inputs:
- Document Loader: An input block that Loads documents or text data into the pipeline. It supports various formats, including text files, PDFs, and HTML.
- Prompt Template: An input block that defines the prompt to be used to interact with the language model. It can include placeholders for variables that will be filled with data from other components.
Outputs:
- Text Output: Displays or saves the generated text output from the pipeline.
- File Output: Saves the generated text to a file.
Prompts:
- Prompt Generator: Generates prompts based on a given template and context.
Data:
- Data Stax: Stores and manages data used in the pipeline.
Models:
- LLM (Large Language Model): The core component that generates text based on the provided prompt and information from the vector store.
- Embedding Model: Converts text into numerical representations (embeddings) for comparison and analysis.
Helpers:
- Chain: Combines multiple components into a single sequence for more complex workflows.
Vector Stores:
- Vector Store: Stores embeddings of documents for efficient retrieval.
Embeddings:
- Embedding Model: (Already mentioned)
Experimental:
- Experimental Components: Provides access to experimental features or components that may be under development or testing.
Connection and Outputs:
Components in Langflow are connected using a visual interface. The output of one component can be used as the input for another. For example, the output of a document loader can be used as the input for an embedding model.
The final output of a Langflow pipeline is typically a text string or a file containing the generated text. The specific output will depend on the components used and how they are connected.
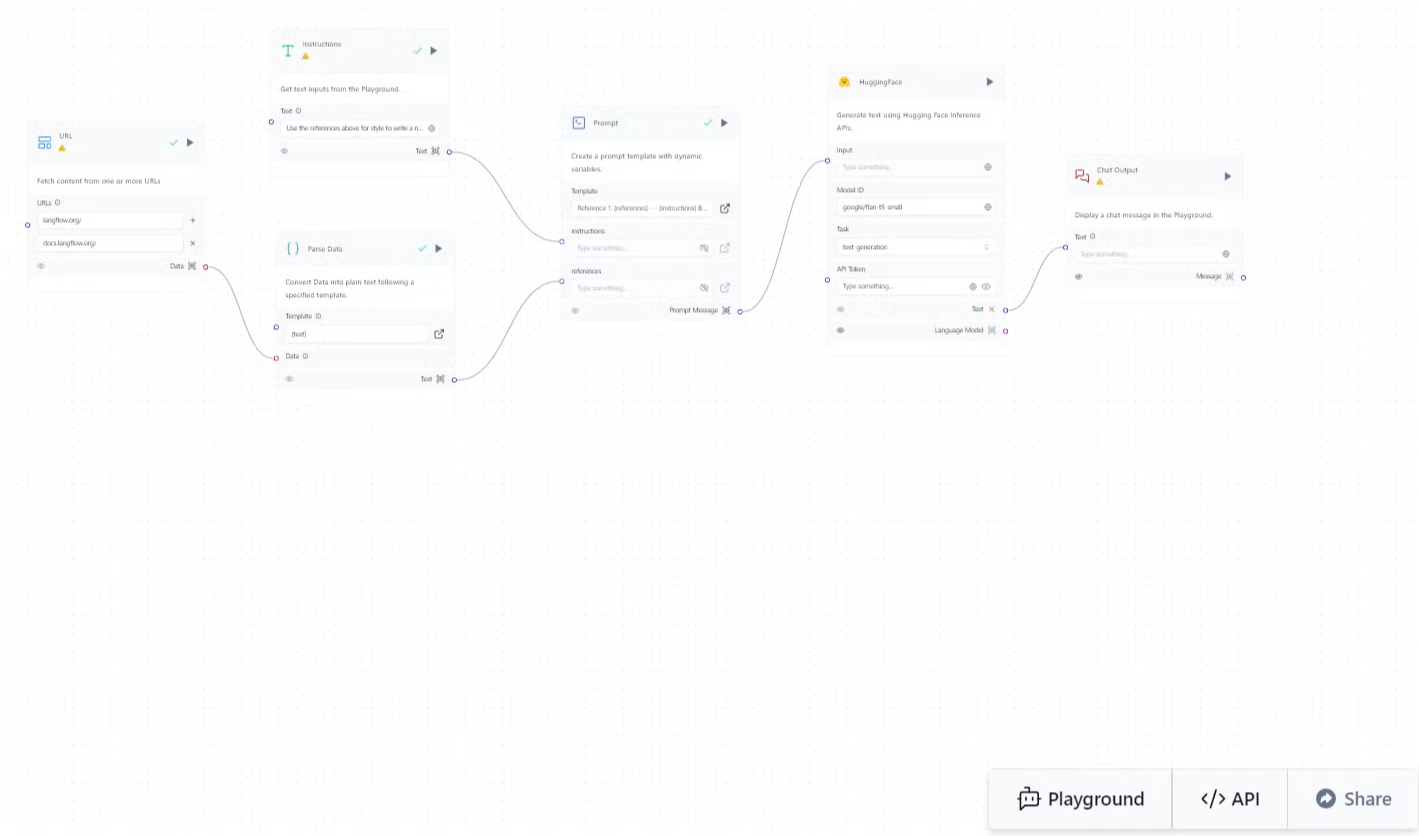
Example:
A simple pipeline might involve:
- Document Loader: Loading a text file.
- Embedding Model: Converting the text into embeddings.
- Vector Store: Storing the embeddings.
- Prompt Template: Defining a prompt with a query and a placeholder for the retrieved document.
- LLM: Generating a response based on the prompt and retrieved document.
- Text Output: Displaying the generated response.
This pipeline would allow users to ask questions about the contents of the loaded text file and receive informative answers.
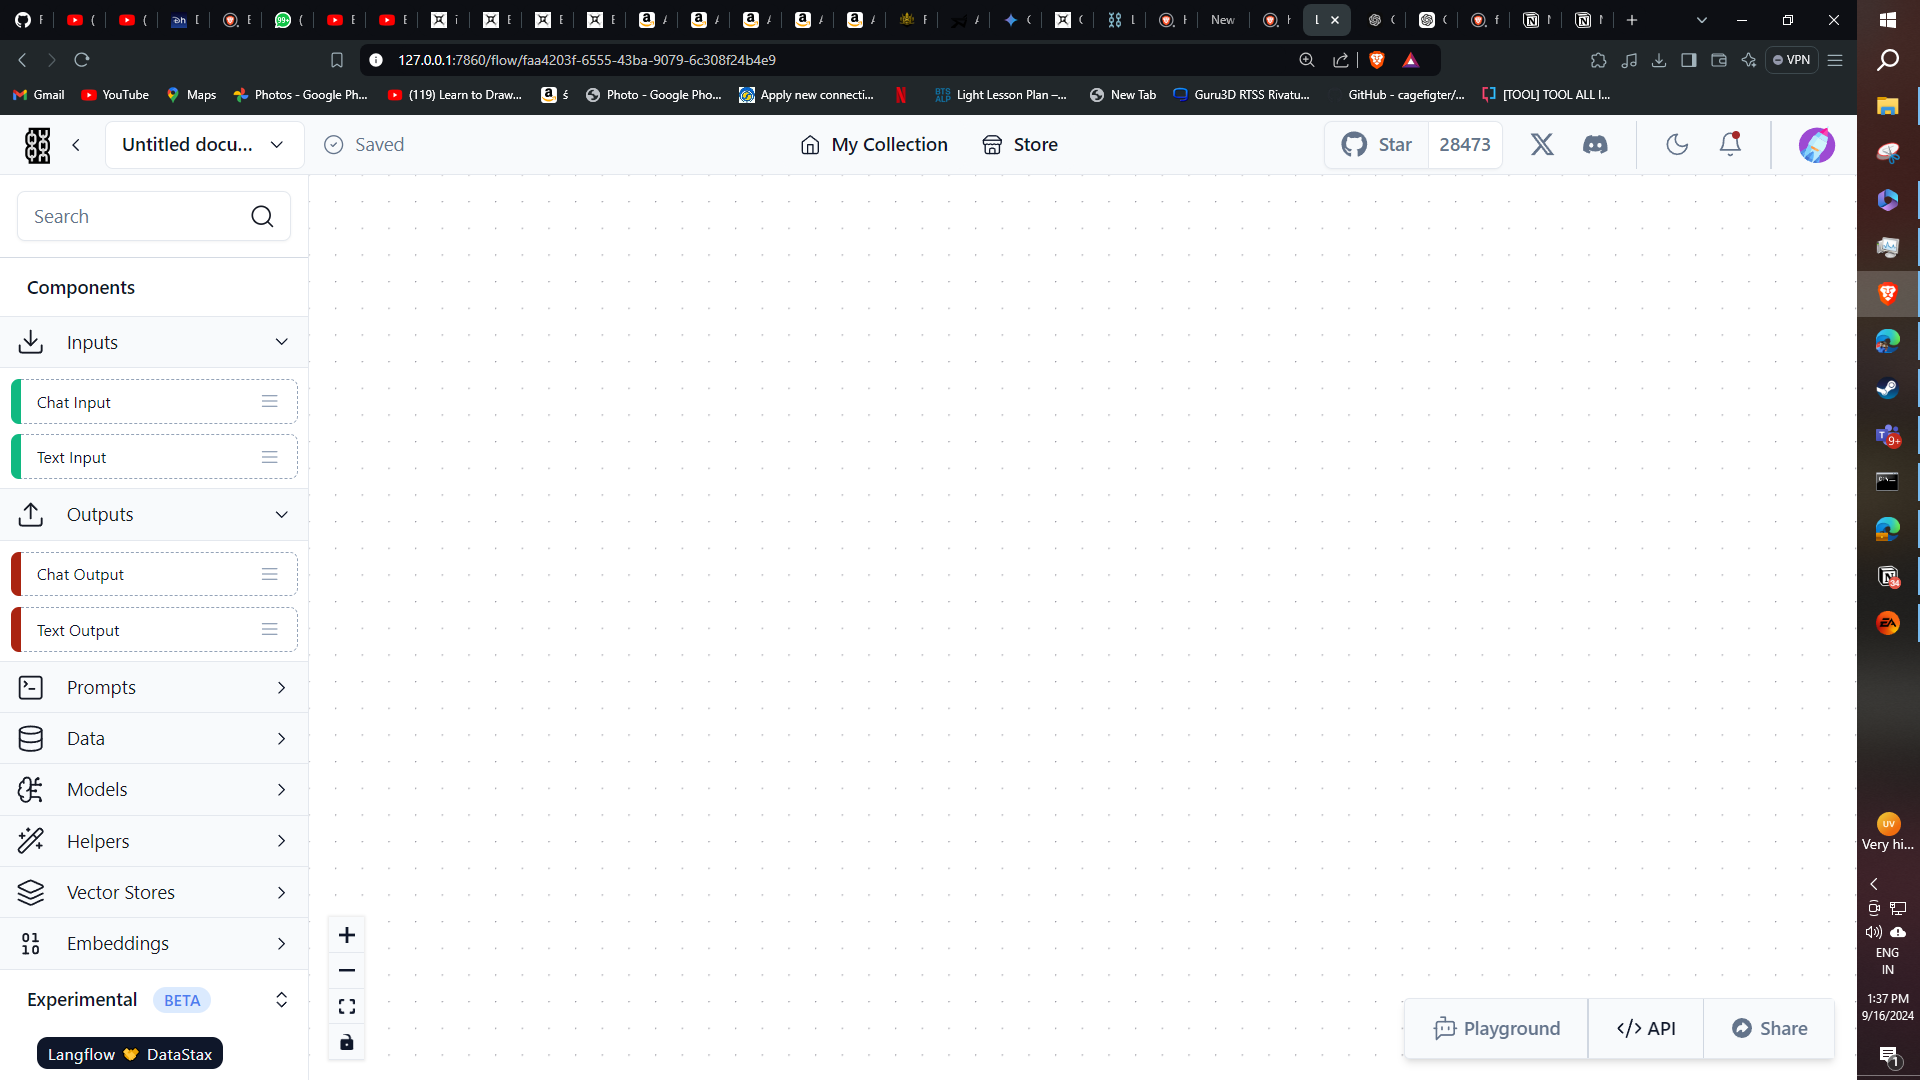
How the GUI Works
- Component Selection:
- The sidebar on the left contains categories like LLMs, Prompt Templates, Chains, and more.
- Drag and drop components from the sidebar onto the canvas to add them to your flow.
- Connecting Components:
- Click and drag from one node's output to another node's input to create connections.
- The GUI will highlight valid connection points as you drag.
- Configuring Nodes:
- Click on a node to open its settings panel on the right side.
- Here you can set parameters specific to that component, such as API keys for LLMs or template text for prompts.
- Building and Running Flows:
- Once your flow is complete, click the "Build" button to compile it.
- You can then test your flow using the interface provided at the bottom of the screen.
- Saving and Sharing:
- Use the Export feature to save your flow as a JSON file.
- You can later import this file to recreate your flow or share it with others.
- Debugging and Iterating:
- Langflow provides real-time feedback as you build.
- You can easily modify your flow, change parameters, and rerun to iterate on your design.
By using Langflow's intuitive GUI, you can rapidly prototype complex Langchain workflows without writing code, making it easier to experiment with different configurations and components. Now that we have shown you how to set up Langflow and benefit from the merits of Langchain LLMs, we welcome you to explore different flows within the UI to solve numerous problem statements such as Document QnA, transcription, summarization, and many more. And, these are projects are designed to eliminate the barrier of entry guarding the utilization of LLMs.
Stay tuned for more interesting showcases.