This guide explores prompt engineering for high-quality image generation with Generative AI. It highlights the benefits of Flux by Black Forest Labs, compares it with other AI tools, and offers a step-by-step guide to installing and using ComfyUI for efficient and effective image creation.
Karan Kariappa
23 Aug 20243 min read
The growing popularity of Flux among developers prompts us to draft a simple flow for the installation of this image processing GenAI solution. This article, with our Flux Guidance Series, acts as a connecting bridge to flux usability, letting you do what we do at scale. By following the below guide, you should be able to set up the least operationally intensive version of Flux without breaking the bank. Alongside the same, we have also highlighted the scalable models that can be used for enterprise use cases, allowing you to choose either of the two based on convenience, preference, and accessibility.
Minimum Recommended System Prerequisites
Operating systems: Windows or Linux
Minimum Memory: 18 GB and above of unified memory (CPU + GPU) Dedicated GPU is recommended with 24 GB combined memory
Software Requirements: Python 3 and above; Anaconda and pip packages; Pytorch
Do ensure at the start that the above prerequisites are met, before proceeding to install Flux.
Installing on Windows/Linux OS configurations
Open terminal on your computer, and check if the above packages are installed. Once verified, create a new directory where ComfyUI has to be installed.
Git clone this repo: (Copy the below command and run it on terminal)
Place your checkpoint files (GenAI - image generation models) within models/checkpoints, inside the ComfyUI folder. This are LLM files that enable Flux Guidance.
"t5xxl_fp16.safetensors" or "clip_l.safetensors" Must be placed in in your ComfyUI/models/clip/. You can download them here.
VAE files can be downloaded here and should go in your ComfyUI/models/vae/ folder.
Next, download suitable image processing models and place them in the Unet folder. Here, we have chosen the Flux Schnell diffusion model weights, which can be found here and should be placed in: ComfyUI/models/unet/ folder.
AMD GPUs (Linux only)
AMD GPU users can install rocm and pytorch with pip if not already installed
Upon completing the above steps, push the ‘requirements.txt’ through terminal using the command line below
pip install -r requirements.txt
Once installed, you are all set to launch ComfyUI running Flux models on your computer. To access ComfyUI, run the below command:
python [main.py](<http://main.py/>)
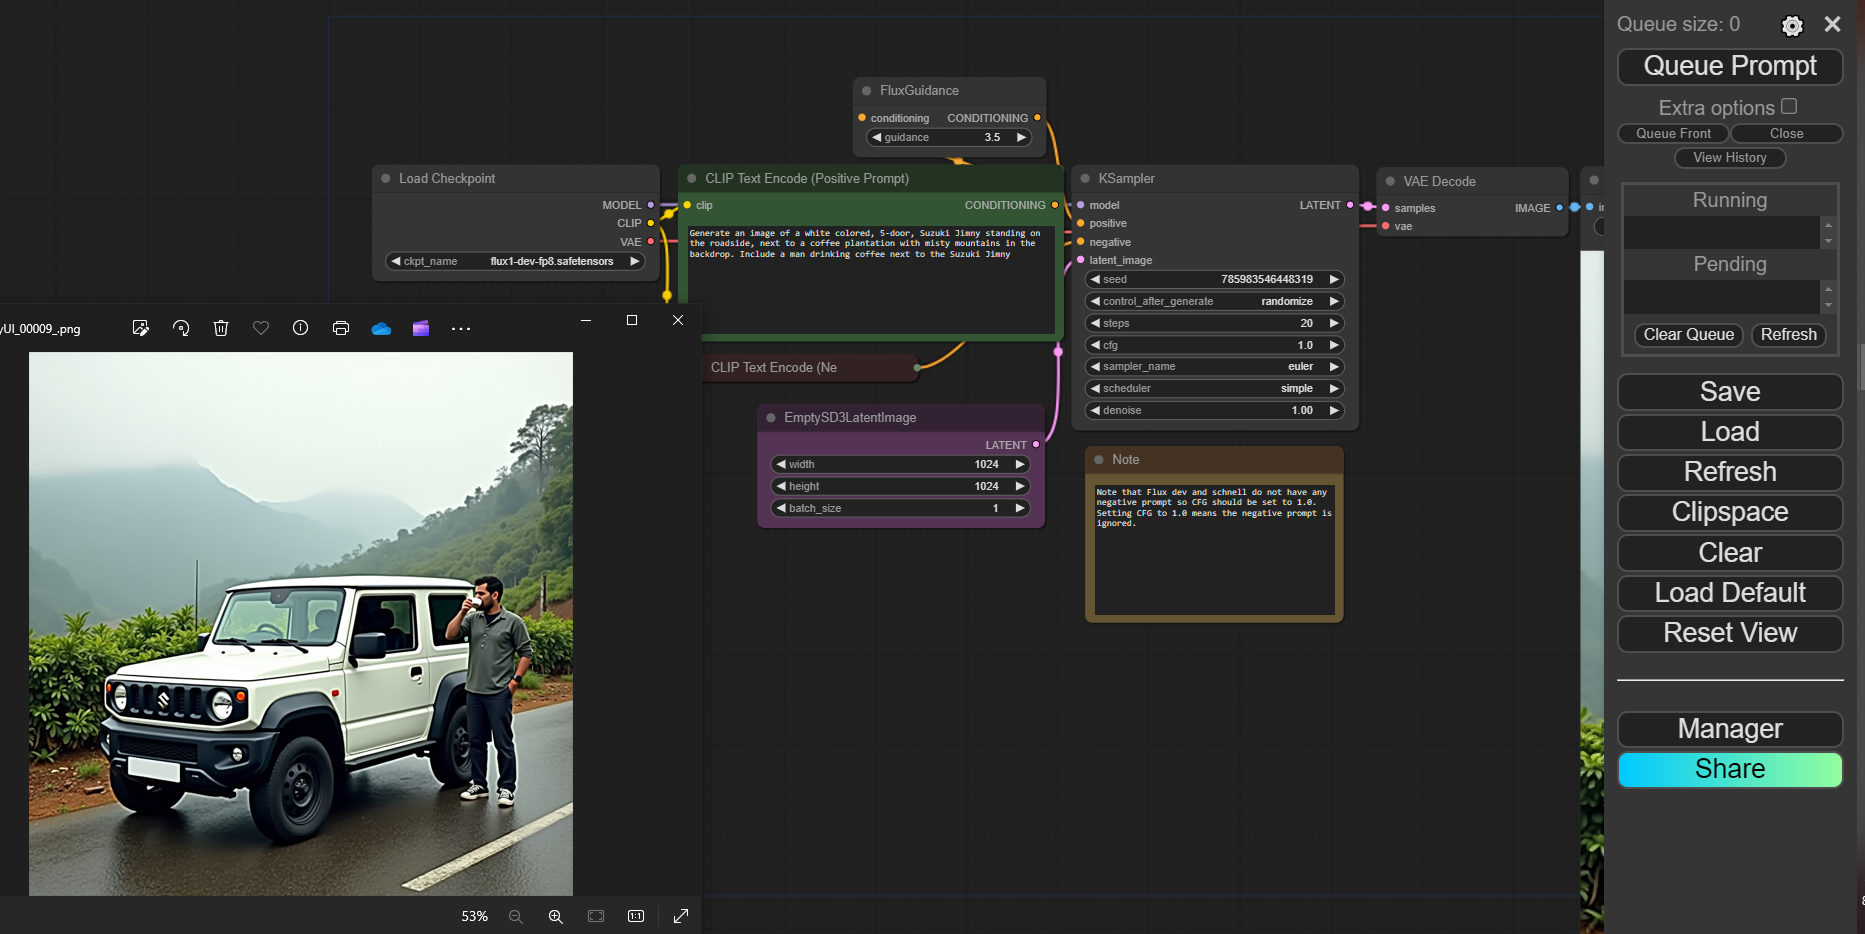
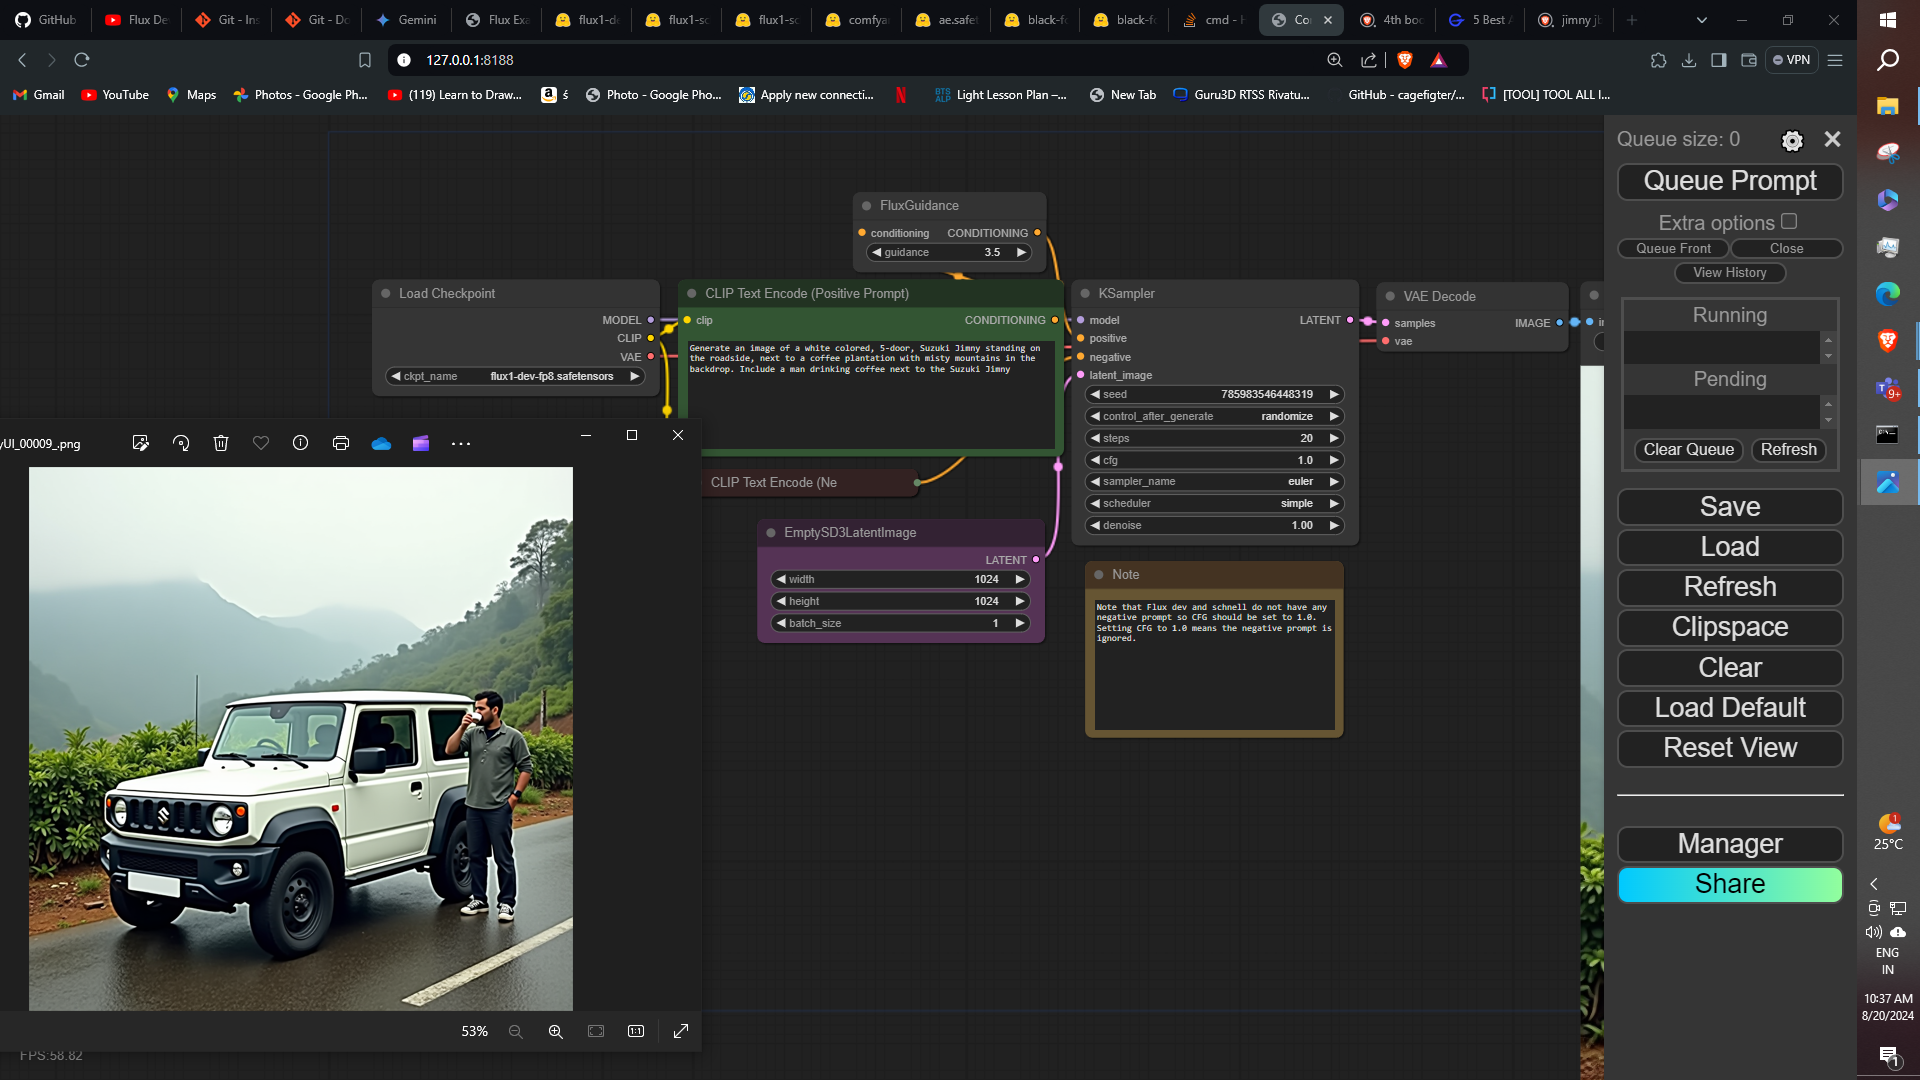
ComfyUI will run on terminal and provide a specific URL (127.0.0.1:8188) through which the GUI can be accessed. Navigating to the URL should open up a webpage resembling the below image.
Next, you can drag and drop this image on the URL where comfy UI is running, to preconfigure the comfyUI to Schnell models or Flux Dev models, as suited.
In the upcoming sequel to this article, we will be exploring the usability of ComfyUI, where we will be breaking down how an individual with less to no development experience can generate images like the above.
Stay Tuned for more interesting implementations of GenAI.
Most of our AI code isn't asking a model to write anything — it's asking it to decide something. We spent a few days with Jev, a model built to skip text and return typed decisions instead.
Discover how to create a sentiment analysis tool for Twitter using Langflow and Llama 2. This no-code guide walks you through building a real-time API for classifying tweets as positive, negative, or neutral, perfect for business insights and analysis.
This guide walks you through installing Langchain and Langflow locally, followed by an exploration of Langflow’s components and GUI. Learn to build visual workflows, connect LLMs, and create content pipelines for tasks like summarization, transcription, and more using a user-friendly interface.
5 min read·17 Sep 2024
Karan Kariappa
Get our thinking
Notes on AI engineering, occasionally.
The same signal as the footer signup — sent when we actually have something worth saying.


 Akshay Kumar